Hollyhocks (Alcea rosea) are one of the favourites in gardens worldwide. They are cherished for their towering, vibrant spikes and funnel-shaped flowers. These stunning biennials or short-lived perennials add a touch of nostalgic charm and vertical interest to any landscape. Originating from Asia and Europe, hollyhocks have graced cottage gardens for centuries. Today, we will talk about How to Grow Hollyhocks!
Growing hollyhocks can be rewarding for both beginners and experienced gardeners. They are relatively easy to cultivate and thrive in various climates, making them versatile additions to many gardens. This article will explore everything you need to know about growing hollyhocks—from selecting the right varieties and planting techniques to care tips and troubleshooting common problems.
How to Grow Hollyhocks
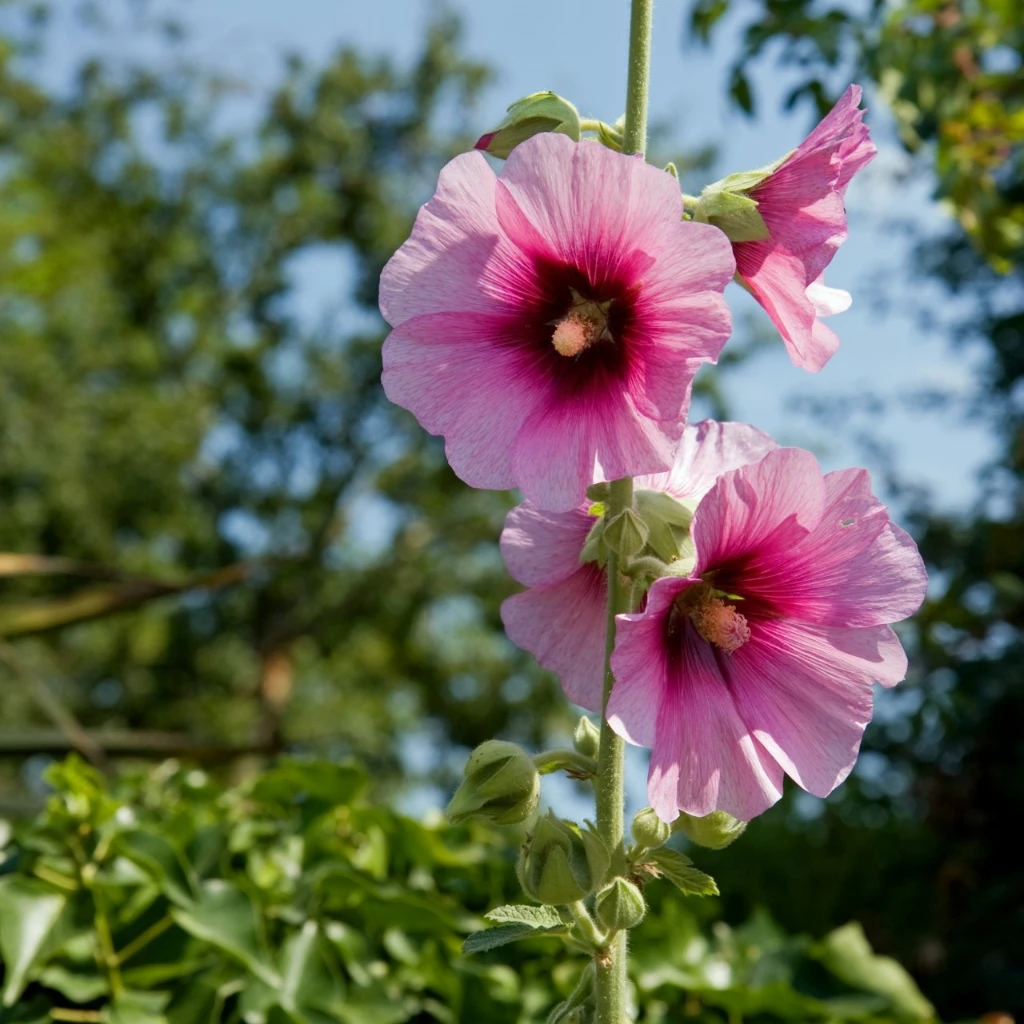
Hollyhock
Hollyhocks are characterized by their tall, solid stems that can reach heights of up to 8 feet. They are adorned with numerous large, showy blooms in various colours, including pink, red, white, yellow, and purple. These flowers bloom in succession from the bottom of the stem upwards, creating a striking display throughout the summer months. Each individual flower can last for several days, but the plant as a whole can remain in bloom for weeks, providing long-lasting colour in the garden.

One of the benefits of growing hollyhocks is their ability to thrive in various soil types and climates. They prefer full sun and well-drained soil but are adaptable and can tolerate less-than-ideal conditions. Once established, hollyhocks are also relatively drought-tolerant, making them a low-maintenance option for busy gardeners. With their impressive height and vibrant colours, hollyhocks can serve as excellent backdrops for shorter plants or as focal points in mixed flower beds.
Hollyhock Varieties to Grow
Gardeners tend to get confused when selecting the suitable hollyhock variety to grow. Quite a few types are available, each with its unique charm and characteristics. The main distinctions among hollyhock varieties lie in their flower forms, colours, and growth habits.
One popular variety is the Alcea rosea ‘Chater’s Double,’ known for its lush, double blooms that resemble pom-poms. These flowers come in various colours, including pink, red, and yellow, and can add a touch of opulence to any garden setting. Another striking variety is Alcea rosea ‘Nigra,’ which boasts dark, almost black flowers that provide a dramatic contrast to lighter-coloured blooms in the garden.

For those seeking a more delicate appearance, Alcea rosea ‘Peaches and Dreams’ offers soft peach-coloured flowers with ruffled petals that give a romantic cottage garden feel. The single-flowered varieties, such as Alcea rosea ‘Halo Mix,’ are appreciated for their classic simplicity and charm.
Choosing the right hollyhock variety depends on your garden’s dynamic appearance and the specific growing conditions in your area. Whether you prefer bold, vibrant colours or soft, pastel hues, there is a hollyhock variety that will suit your garden perfectly. These versatile plants can be mixed and matched to create a dynamic and visually appealing garden display.
Hollyhock Growing Tips
Growing hollyhocks successfully requires attention to several key factors, including soil, water, sunlight, and spacing:
Soil: Hollyhocks thrive in well-drained soil with a pH between 6.0 and 8.0. To prepare your soil, incorporate plenty of organic matter, such as compost or aged manure, improving soil structure and fertility.
Sunlight: Hollyhocks need full sun to produce their best blooms. Ensure they receive at least 6 hours of direct sunlight each day.
Watering: While hollyhocks are fairly drought-tolerant once established, they require consistent moisture during their initial growth. Water them deeply once weekly, allowing the soil to dry out slightly between waterings to prevent root rot.

Spacing: Spacing is crucial for hollyhocks as these tall plants need room to grow and proper air circulation to prevent diseases like rust. Plant hollyhocks 18 to 24 inches apart, and consider staking taller varieties to support their stems, especially in windy areas.
Mulching: Mulching around the base of the plants can help retain soil moisture and reduce weed competition.
Wind protection: Consider planting hollyhocks in locations sheltered from strong winds to protect their tall, delicate stems.
Following these tips, you can create an optimal environment for your hollyhocks to flourish, resulting in a stunning display of blooms.
Hollyhock Flower’s Blooming Time
One of the hollyhocks’ most enchanting features is their blooming time. Typically, hollyhocks bloom from mid-summer to early fall, with flowers appearing in succession along the tall flower spikes. The blooming period can last from several weeks to a few months, depending on the variety and growing conditions.

Several factors can influence the blooming time of hollyhocks. Adequate sunlight is essential; hollyhocks need full sun to produce abundant flowers. Soil fertility and proper watering also play crucial roles. Ensure your hollyhocks are well-nourished and hydrated, particularly during dry spells, to support continuous blooming. To extend the blooming period, practice deadheading, which involves removing spent flowers. Additionally, providing a balanced fertilizer in early spring and mid-summer can boost flower production.
How to Plant Hollyhocks
Planting hollyhocks properly is the foundation for a thriving display. Several factors must be kept in mind while planting hollyhocks:
Choosing location: Start by choosing a sunny location with well-drained soil. Hollyhocks can be grown from seeds, seedlings, or transplants. If you’re starting from seed, sow them directly into the garden in late spring or early summer for blooms the following year, as hollyhocks are typically biennials.

Preparing soil: Prepare the planting site by loosening the soil to a depth of 12 inches and mixing in compost or organic matter to enhance fertility and drainage. For seeds, scatter them over the soil surface and cover lightly with about 1/4 inch of soil. Water gently to moisten the soil until germination, usually within 10 to 14 days. If planting seedlings or transplants, dig a hole slightly larger than the root ball, place the plant in the hole, and backfill with soil, firming it gently around the base. Water thoroughly to settle the soil and eliminate air pockets.
Ensuring adequate spacing: To ensure adequate spacing, plant hollyhocks 18 to 24 inches apart to allow for their mature size and to promote good air circulation. Mulch around the plants to retain moisture and suppress weeds. With proper planting techniques, your hollyhocks will establish strong roots and be well on their way to producing beautiful, towering flower spikes. Here you can learn How to plant Hollyhock in UK
Hollyhock Care
Caring for hollyhocks involves regular maintenance to keep them healthy and vibrant throughout the growing season. While hollyhocks are relatively low-maintenance, a few key practices can promote their growth and flowering:
Watering: Watering is essential, especially during dry periods. Water hollyhocks deeply at the base of the plant to ensure the roots receive adequate moisture. Aim to keep the soil consistently moist but not waterlogged. Mulching around the base of the plants can help retain moisture and reduce the need for frequent watering.
Fertilization: Fertilization is another vital aspect of hollyhock care. Apply a balanced, all-purpose fertilizer in early spring when new growth appears and again in mid-summer to promote continuous blooming. Organic fertilizers such as compost or well-rotted manure can also be beneficial.

Pruning and deadheading: Pruning and deadheading are crucial for maintaining plant health and encouraging more blooms. Remove spent flowers regularly to prevent the plant from diverting energy into seed production. Cut back any damaged or diseased foliage to prevent the spread of diseases.
Supporting and constant monitoring: Support tall hollyhock varieties with stakes or plant them against a wall or fence to protect them from wind damage. Additionally, monitor your plants for pests and diseases and take immediate action if any issues arise. With proper care, hollyhocks can thrive and provide stunning blooms year after year.
How to Propagate Hollyhocks
Several methods for propagating hollyhocks include seed propagation, root cuttings, and division. Let’s know the details here:
Seed Propagation: Hollyhocks are easily propagated from seeds. Collect seeds from mature plants at the end of the growing season. Allow the seed pods to dry on the plant, then harvest and store the seeds in a cool, dry place. Sow the seeds directly in the garden in late spring or early summer. Lightly cover them with soil and keep the area moist until germination.

Root Cuttings: Another method is to take root cuttings in late fall or early spring. Dig up a mature hollyhock plant and cut a section of the root into 2-3 inch pieces. Plant the cuttings in pots filled with a well-draining potting mix, burying them just below the soil surface. Keep the soil moist and place the pots in a bright but not direct sunlight location until new growth appears.
Division: Although less common, hollyhocks can also be propagated by division. This method is best done in early spring or late fall. Carefully dig up the plant and divide the root clump into smaller sections, ensuring each section has healthy roots and shoots. Replant the divisions in prepared garden beds, water thoroughly, and mulch to retain moisture.
Hollyhock Common Problems and Solutions
While hollyhocks are generally hardy plants, they can be susceptible to several common problems, including pests and diseases. Understanding these issues and how to address them can help keep your hollyhocks healthy and blooming.
Rust: One of the most prevalent diseases affecting hollyhocks is rust, caused by the fungus Puccinia malvacearum. It appears as orange-brown spots on the undersides of leaves, leading to yellowing and defoliation. To manage rust, remove and destroy affected leaves, improve air circulation around the plants, and apply fungicides if necessary.

Aphids: These small, sap-sucking insects can cause significant damage to hollyhocks by feeding on their stems and leaves. Aphids can be controlled by spraying plants with a strong jet of water, using insecticidal soap, or introducing natural predators like ladybugs.
Spider Mites: These tiny pests thrive in hot, dry conditions and can cause leaves to become stippled and discoloured. To control spider mites, keep the plants well-watered and increase humidity around them. Insecticidal soap or miticides can also be used if infestations are severe.
Slugs and Snails: These pests are known to feed on young hollyhock seedlings and leaves, causing significant damage. Use barriers like copper tape, diatomaceous earth, or organic slug pellets to protect your plants.
Summary
Growing hollyhocks can be a delightful and rewarding experience for gardeners of all skill levels. By choosing the right varieties, planting them properly, and providing consistent care, you can enjoy a stunning display of hollyhock blooms from mid-summer to early fall. Whether you’re planting hollyhocks for the first time or looking to expand your existing garden, this guide provides all the information you need to succeed. With these tips and techniques, you can create a beautiful and vibrant garden filled with the timeless elegance of hollyhocks.
FAQ
Q1: Where do hollyhocks grow best?
Hollyhocks grow best in areas with full sun and well-drained soil. They prefer a sunny location where they can receive at least 6 hours of direct sunlight daily. While they can tolerate various soil types, adding organic matter like compost can enhance their growth. Ensure the planting area has good air circulation to help prevent diseases like rust.
Q2: What month is best to plant hollyhocks?
The best time to plant hollyhocks is in late spring or early summer. If you’re starting from seeds, sow them directly into the garden during these months. For seedlings or transplants, planting in late spring ensures they have enough time to establish roots before the blooming season.
Q3: Does Hollyhock come back every year?
Hollyhocks are typically biennials, meaning they grow foliage in the first year and bloom in the second year before dying. However, some varieties can act as short-lived perennials, returning for a few years under favorable conditions. Hollyhocks also self-seed prolifically so that new plants may appear each year from the seeds of the previous season’s flowers.
Q4: Can you grow hollyhocks in pots?
Yes, you can grow hollyhocks in pots, although they may not reach their full height potential. Use a large, deep container with good drainage and fill it with a high-quality potting mix. Place the pot in a location where it receives full sun and water regularly to keep the soil moist but not waterlogged.
Q5: What is the best fertilizer for hollyhocks?
The best fertilizer for hollyhocks is a balanced, all-purpose fertilizer. Apply it in early spring when new growth appears and again in mid-summer to promote continuous blooming. Organic options like compost or well-rotted manure are also beneficial, providing essential nutrients and improving soil structure.