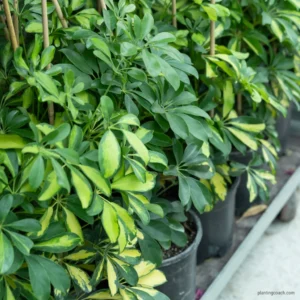
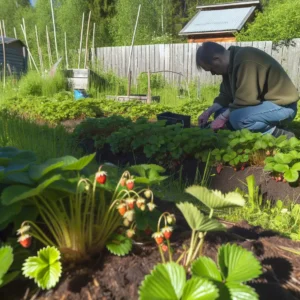
Euphorbias, also known as spurges, is a diverse and fascinating genus of plants that adds unique texture and beauty to gardens. These hardy and adaptable plants are valued for their architectural forms, striking foliage, and, in some species, vibrant blooms. Whether you’re a seasoned gardener or a new one, euphorbias offers an excellent way to beautify your outdoor space with minimal effort. This guide will take you through How to Grow Euphorbias, from selecting the right varieties to mastering their care and propagation. By the end of this article, you’ll be equipped with all the knowledge you need to cultivate these remarkable plants successfully.
How to Grow Euphorbias
Growing euphorbias can be a rewarding experience, thanks to their resilience and low maintenance requirements. These plants are native to a wide range of habitats, from deserts to forests, so there is likely a euphorbia variety suited to your garden conditions. They are known for their drought tolerance, making them perfect for xeriscaping or gardens with minimal water supply. With proper planting and care, euphorbias can thrive and become a stunning focal point in your garden.
Understanding Euphorbia
Euphorbia is a large and diverse genus, encompassing over 2,000 species. This group includes everything from small annuals to large, tree-like succulents. One of the most recognizable features of euphorbias is their milky sap, which can irritate the skin and become toxic if ingested. This sap serves as a natural deterrent to herbivores and pests. The flowers of euphorbias are typically small and inconspicuous, but they are often surrounded by colourful bracts that can be quite showy. Euphorbias also vary widely in form, from the upright, cactus-like shapes of Euphorbia trigona to the low, spreading habit of Euphorbia myrsinites.
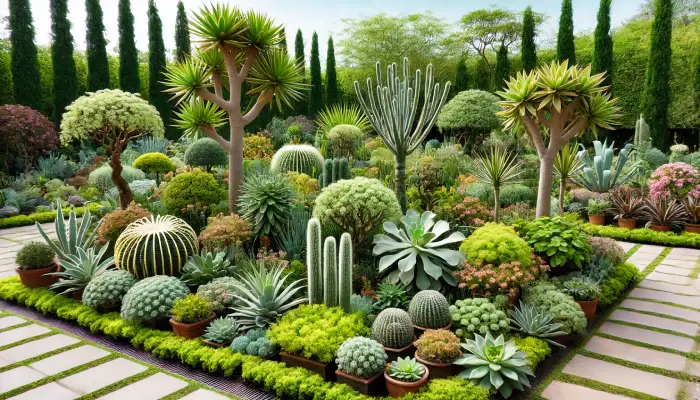
Understanding the specific characteristics of the euphorbia species you wish to grow is crucial for providing the right care. Some varieties prefer full sun, while others thrive in partial shade. Soil preferences can also vary, with some euphorbias needing well-drained, sandy soil and others tolerating more moisture. By selecting the right species for your environment and understanding its needs, you can ensure that your euphorbia plants will flourish.
Euphorbia Varieties to Grow
There is a euphorbia for nearly every gardening need, whether you’re looking for a ground cover, a container plant, or a dramatic specimen for a xeriscape garden. Some popular euphorbia varieties to consider include:
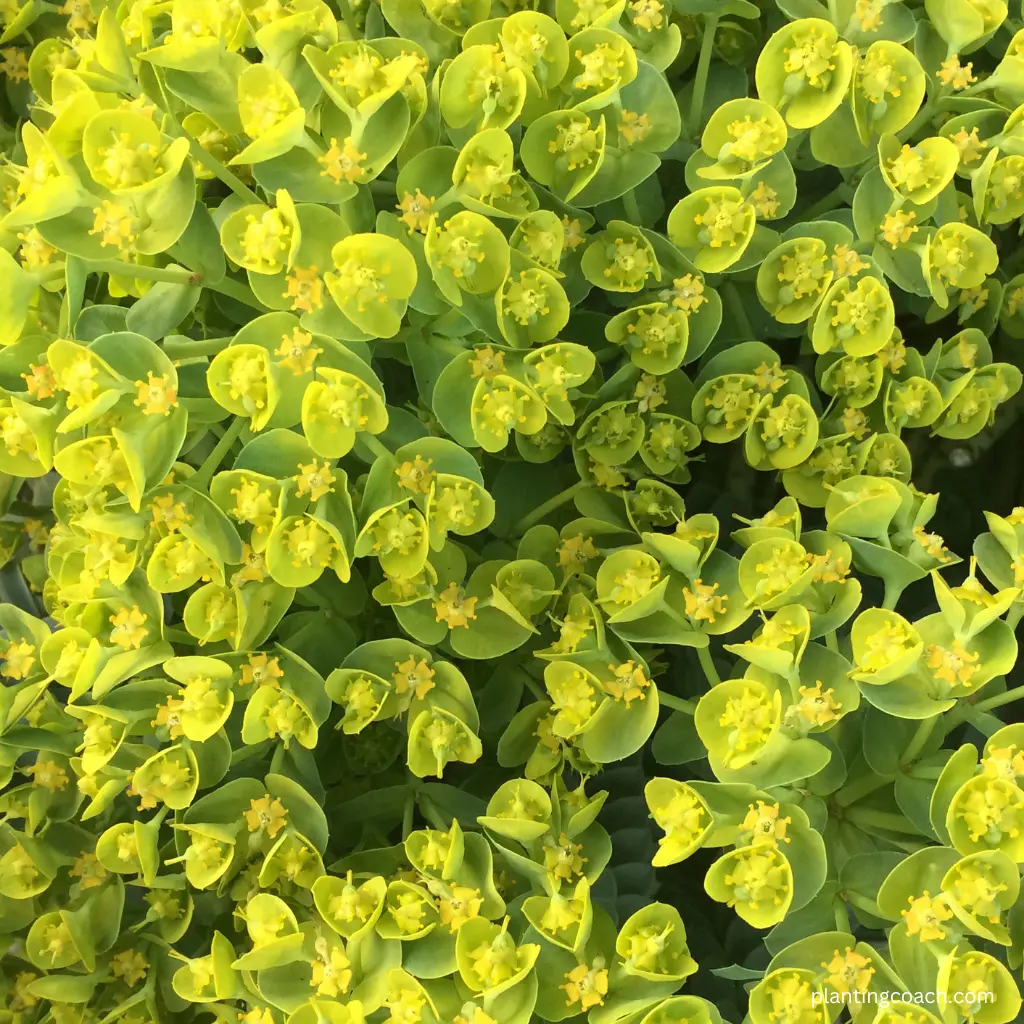
Euphorbia characias ‘Wulfenii’: Known for its striking chartreuse flowers and blue-green foliage, this variety can grow up to 4 feet tall and wide. It thrives in well-drained soil and full sun, making it ideal for Mediterranean-style gardens.
Euphorbia myrsinites (Donkey Tail Spurge): This low-growing variety is perfect for ground cover. It features trailing stems of blue-green, fleshy leaves, and bright yellow-green bracts. It is highly drought-tolerant and thrives in full sun to partial shade.

Euphorbia milii (Crown of Thorns): This thorny shrub is prized for its long-lasting, colorful bracts that can bloom year-round in warm climates. It prefers full sun and well-drained soil, making it a great choice for containers and sunny borders.
Euphorbia polychroma (Cushion Spurge): A compact, mound-forming variety with bright yellow flowers in spring. It is well-suited to rock gardens and mixed borders, preferring full sun to partial shade and well-drained soil.
Euphorbia tirucalli (Pencil Cactus): This unique variety features thin, cylindrical stems and can grow into a large, tree-like form. It is excellent for xeriscaping and can be grown indoors in bright light.
Where to Plant Euphorbia
Euphorbias are incredibly versatile and can thrive in a variety of garden settings. However, it’s important to consider their specific location requirements to ensure they reach their full potential. Here are some tips on where to plant euphorbia:
Sunlight: Most euphorbia varieties prefer full sun, meaning they need at least six hours of direct sunlight daily. However, some varieties can tolerate partial shade, especially in hot climates. It’s important to match the sunlight requirements of your chosen variety with the planting location.
Soil: Euphorbias generally prefer well-drained soil. Consider amending the soil with sand or gravel in areas with heavy clay soil to improve drainage. Raised beds or mounds can also help prevent waterlogging, which can harm euphorbia plants.

Spacing: Give your euphorbias enough space to grow and spread. Overcrowding can lead to poor air circulation, which increases the risk of fungal diseases. Check the mature size of your chosen variety and space plants accordingly.
Microclimates: Take advantage of microclimates in your garden. For example, planting euphorbias near a south-facing wall can provide warmth and protection from cold winds. Similarly, areas with reflected heat from walls or patios can benefit heat-loving varieties.
Companion Planting: Euphorbias can be excellent companion plants, providing structure and contrast in mixed borders. Pair them with other drought-tolerant plants like sedums, lavenders, and ornamental grasses for a balanced look.
How to Plant Euphorbia
Planting euphorbia correctly is crucial for ensuring their healthy growth and long-term success. Here is a step-by-step guide to planting euphorbia:
Preparation: Start by choosing a well-drained site with the appropriate sunlight exposure for your euphorbia variety. Prepare the soil by loosening it and mixing in compost or other organic matter to improve fertility and drainage.
Digging the Hole: Dig a hole that is twice as wide and just as deep as the root ball of your euphorbia plant. This will give the roots room to spread and establish themselves.
Planting: Remove the euphorbia from its container and gently loosen the roots. Place the plant in the center of the hole, ensuring that the top of the root ball is level with the surrounding soil. Fill the hole with soil, firming it gently around the base of the plant to eliminate air pockets.
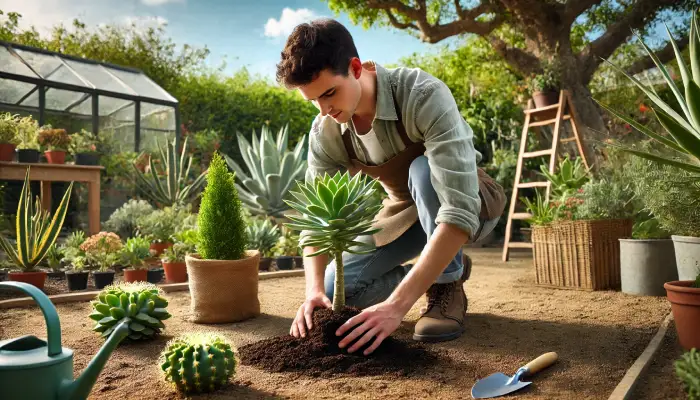
Watering: Thoroughly water the newly planted euphorbia to help settle the soil and establish the roots. Be careful not to overwater, as euphorbias are susceptible to root rot. Allow the soil to dry out slightly between waterings.
Mulching: Apply a layer of mulch around the base of the plant to help retain moisture and suppress weeds. Keep the mulch away from the stem to prevent rot.
Staking: If you are planting a tall euphorbia variety, you may need to stake it to provide support as it establishes. Use a sturdy stake and soft ties to avoid damaging the plant.
Euphorbia Plant Care
Once your euphorbias are planted, proper care is essential to keep them healthy and thriving. Here are some tips on how to care for your euphorbia plants:
Watering: Euphorbias are generally drought-tolerant and do not require frequent watering. Water your euphorbias deeply but infrequently during the growing season, allowing the soil to dry out between waterings. Overwatering can lead to root rot, so ensuring good drainage is crucial. In winter, reduce watering significantly, as many euphorbia varieties enter a dormant phase and require less moisture.

Fertilizing: Euphorbias are not heavy feeders and can thrive in relatively poor soils. However, you can boost them by applying a balanced, slow-release fertilizer in early spring. Avoid high-nitrogen fertilizers, as they can encourage excessive foliage growth at the expense of flowers.
Pruning: Regular pruning helps maintain the shape and size of your euphorbia plants. Remove any dead or damaged stems in early spring to encourage new growth. Wear gloves and protective clothing when pruning, as the milky sap can irritate the skin. After pruning, wash your tools thoroughly to remove any sap residue.
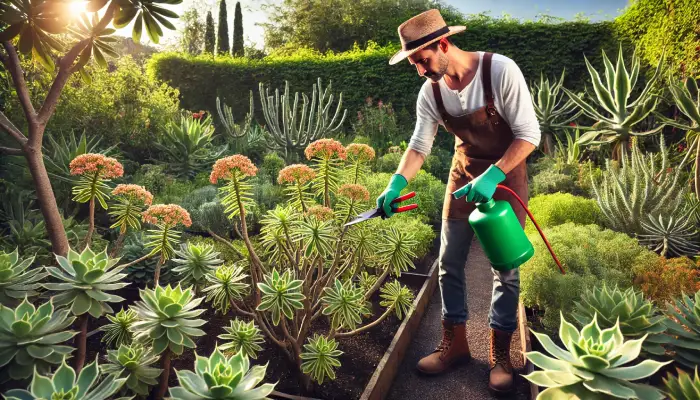
Pest and Disease Control: Euphorbias are generally resistant to pests and diseases, but they can occasionally be affected by aphids, spider mites, and fungal diseases. Inspect your plants regularly and treat any infestations promptly with appropriate insecticides or fungicides. Maintaining good air circulation and avoiding overhead watering can help prevent fungal issues.
Winter Care: In colder climates, some euphorbia varieties may need protection from frost. Mulch around the base of the plants to insulate the roots, and consider covering them with frost cloth during severe cold spells. Container-grown euphorbias can be moved to a sheltered location or indoors during winter.
Euphorbia Cutting and Pruning Guide
Pruning euphorbias is essential to their maintenance, helping keep them healthy and looking their best. Here’s a detailed guide on how to cut and prune euphorbia plants:
Timing: The best time to prune euphorbias is in early spring before new growth begins. This allows the plant to recover and produce vigorous new shoots. For flowering varieties, pruning after the blooms have faded is also recommended.
Tools: Use sharp, clean pruning shears or scissors to make clean cuts. Wearing gloves and protective clothing is important, as the sap can cause skin irritation.
Removing Dead or Damaged Stems: Start by removing any dead, damaged, or diseased stems. Cut them back to healthy tissue, making clean cuts just above a node or bud. This encourages new growth and prevents the spread of disease.
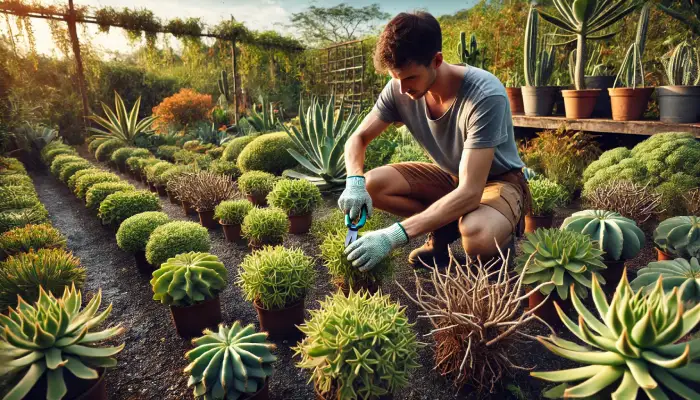
Shaping the Plant: To shape your euphorbia, selectively prune back the stems to achieve the desired form. For bushier growth, cut stems back to a node where you want new branches to emerge. Remove any side shoots that detract from the main structure for taller varieties.
Thinning: If your euphorbia is becoming too dense, thin out some of the older stems to improve air circulation. This helps reduce the risk of fungal diseases and encourages healthier growth.
Cutting Back Flowering Stems: After flowering, cut back the spent flower stems to the base. This tidies up the plant and redirects energy into producing new growth.
Disposal of Cuttings: Pruned material should be disposed of carefully, as the sap can harm humans and animals. Do not compost the cuttings; instead, place them in a yard waste bin or burn them if permitted in your area.
How to Propagate Euphorbias
Propagating euphorbias is a rewarding way to expand your garden or share plants with friends. There are several methods to propagate euphorbias, including seeds, cuttings, and division. Here’s how to propagate euphorbias effectively:
Propagation from Seeds:
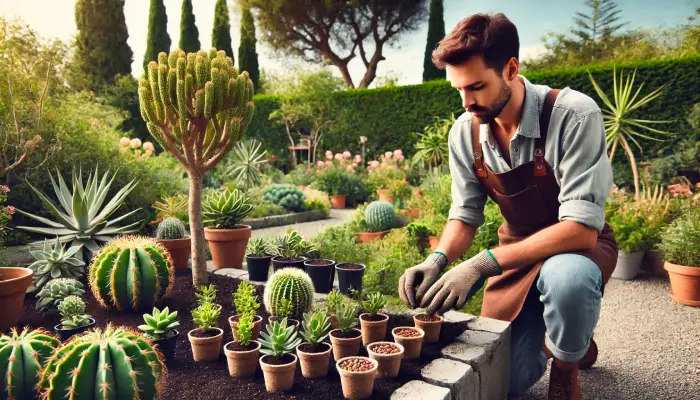
- Seed Collection: Collect seeds from mature euphorbia plants after they have flowered and produced seed pods. Allow the pods to dry on the plant, then harvest them before they split open.
- Sowing Seeds: Sow the seeds in a well-draining seed-starting mix. Lightly cover the seeds with soil and water gently. Keep the soil moist but not waterlogged. Place the seed tray in a warm, bright location but without direct sunlight.
- Germination: Germination times vary depending on the species, but most euphorbia seeds will sprout within a few weeks. Once the seedlings have developed a few sets of true leaves, transplant them into individual pots.
Propagation from Cuttings:
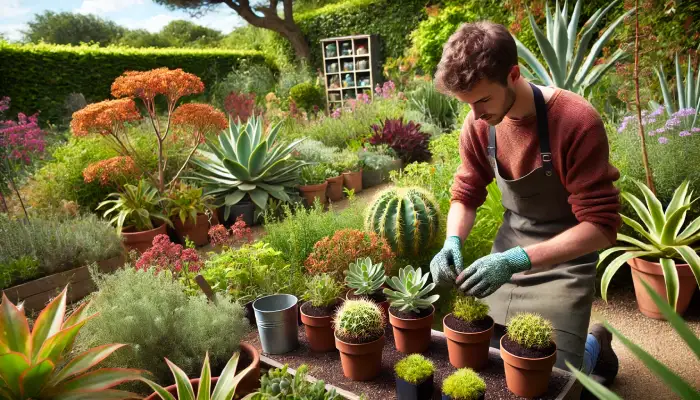
- Taking Cuttings: Take cuttings from healthy, non-flowering stems in late spring or early summer. Cut a 4-6 inch section just below a node. Remove the lower leaves, leaving a few at the top.
- Drying Cuttings: Allow the cuttings to dry for a few days to form a callus over the cut end. This helps prevent rot when the cutting is planted.
- Planting Cuttings: Plant the cuttings in a well-draining potting mix, inserting the cut end into the soil. Water lightly and place the pot in a bright, warm location. Rooting should occur within a few weeks.
Propagation by Division:
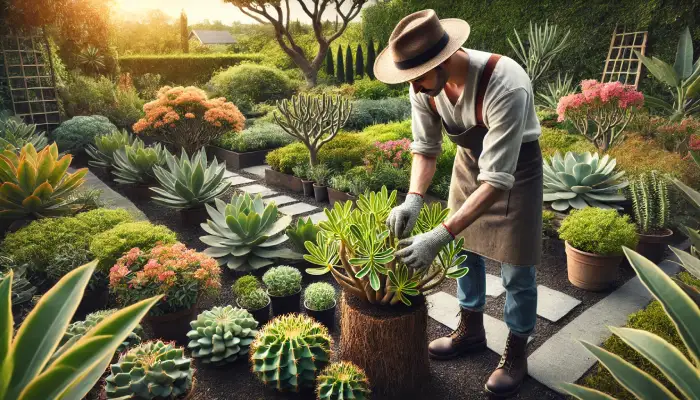
- Dividing Plants: Larger clump-forming euphorbia varieties can be divided in early spring or late autumn. Carefully dig up the plant and separate the clumps using a sharp knife or spade.
- Replanting Divisions: Replant the divisions in prepared soil, ensuring each section has a healthy root system. Water well and provide shade until the plants are established.
Euphorbia Common Problems
Despite their hardiness, euphorbias can encounter a few problems. Being proactive in identifying and addressing these issues will help ensure your plants remain healthy and vibrant. Here are some common problems associated with euphorbia and how to tackle them:
Pests:
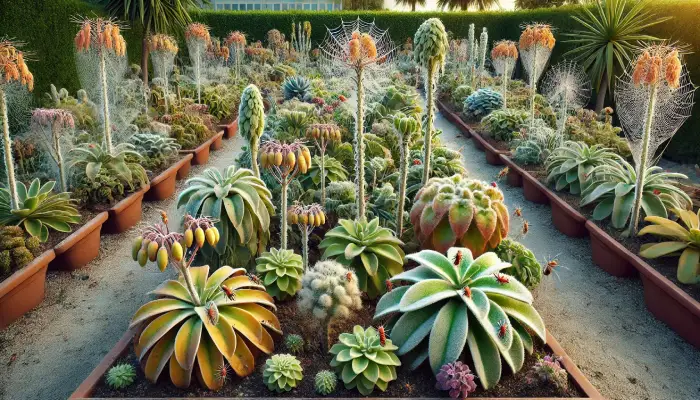
- Aphids: These small, sap-sucking insects can cluster on new growth and cause distorted leaves. Treat aphid infestations with insecticidal soap or neem oil. Encouraging natural predators like ladybugs can also help control their population.
- Spider Mites: These tiny pests cause stippling on leaves and can create fine webs. Increase humidity around the plant and use a miticide if necessary. Regularly rinsing the plants with water can also help keep spider mites at bay.
- Mealybugs: These pests appear as white, cottony masses on stems and leaves. Remove them manually with a cotton swab dipped in alcohol, or use insecticidal soap.
Diseases:
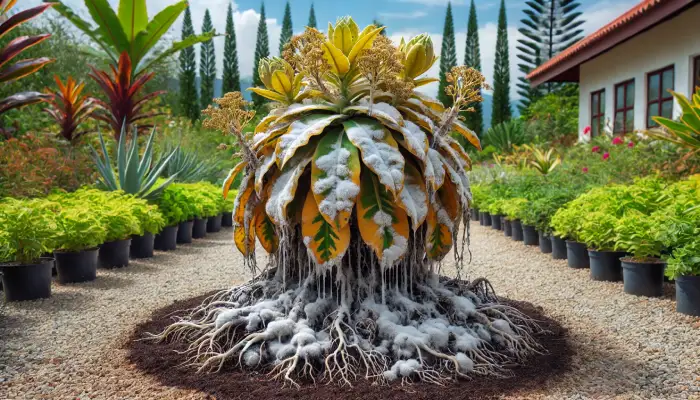
- Root Rot: Caused by overwatering and poor drainage, root rot can be fatal. Symptoms include yellowing leaves and wilting. To prevent root rot, ensure your euphorbia is planted in well-draining soil and avoid excessive watering. If root rot occurs, remove affected parts and replant in fresh, well-draining soil.
- Powdery Mildew: This fungal disease appears as a white, powdery coating on leaves. Improve air circulation around the plant and treat with a fungicide if necessary. Preventive measures include avoiding overhead watering and spacing plants adequately.
Physiological Issues:
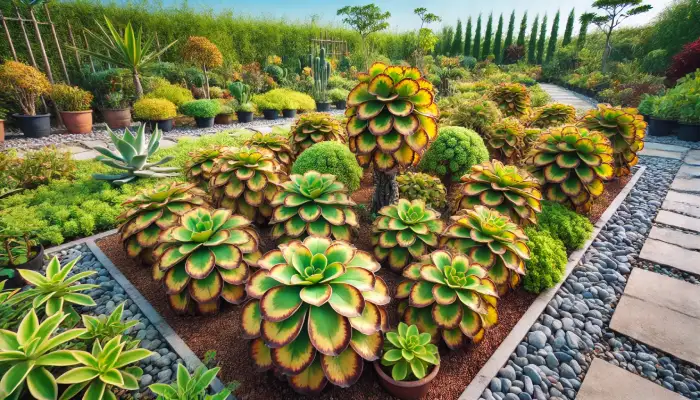
- Sunburn: Euphorbias in direct, intense sunlight may develop sunburn, characterized by brown, scorched patches on leaves. Move affected plants to a location with filtered sunlight or provide shade during the hottest part of the day.
- Nutrient Deficiency: Symptoms such as yellowing leaves or poor growth can indicate nutrient deficiencies. Feed the plant with a balanced fertilizer according to package instructions.
Physical Damage:
- Broken Stems: High winds or accidental damage can cause stems to break. Prune damaged stems cleanly to prevent infection and encourage new growth.
- Handling Damage: The milky sap of euphorbias can cause skin irritation. Always wear gloves when handling or pruning euphorbias to avoid skin contact with the sap.
Summary
Growing euphorbias can be a rewarding experience for any gardener. These versatile and resilient plants add unique beauty to various garden settings. From selecting the right varieties and ideal planting locations to mastering planting techniques and proper care, this guide has successfully provided comprehensive insights into cultivating euphorbias. By understanding their needs and addressing common problems proactively, you can enjoy the stunning architectural forms and vibrant foliage of euphorbias for years to come.
FAQ
Q1: Can you grow Euphorbia from a cutting?
Yes, euphorbia can be successfully grown from cuttings. To propagate from cuttings, take a healthy stem cutting, allow it to dry and form a callus for a few days, then plant it in well-draining soil. Ensure the cutting is kept in a bright, warm location, and water it sparingly until it establishes roots.
Q2: Is Euphorbia hard to grow?
Euphorbia is generally not hard to grow, especially if you select a variety suited to your climate and provide the right growing conditions. Low-maintenance plants require well-draining soil, adequate sunlight, and minimal watering. With proper care, euphorbias can thrive with little attention.
Q3: Does Euphorbia need direct sunlight?
Most euphorbia varieties prefer full sun, requiring at least six hours of direct sunlight daily to thrive. However, some varieties can tolerate partial shade, especially in very hot climates. It is important to match the light requirements of your specific euphorbia variety to ensure optimal growth.
Q4: Can Euphorbia be grown from seed?
Yes, euphorbia can be grown from seed. Collect seeds from mature plants, sow them in a well-draining seed-starting mix, and keep the soil moist but not waterlogged. Place the seed tray in a warm, bright location out of direct sunlight. Germination times vary, but most seeds will sprout within a few weeks.
Q5: Why is my Euphorbia dying?
Several factors could cause a euphorbia plant to decline, including overwatering, poor drainage, insufficient light, or pest infestations. Check for root rot by inspecting the roots, ensure the plant is in well-draining soil, and adjust watering practices. Additionally, provide adequate sunlight and promptly treat pest problems to revive your plant.
